


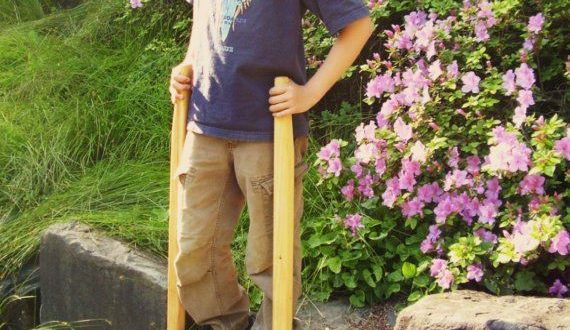
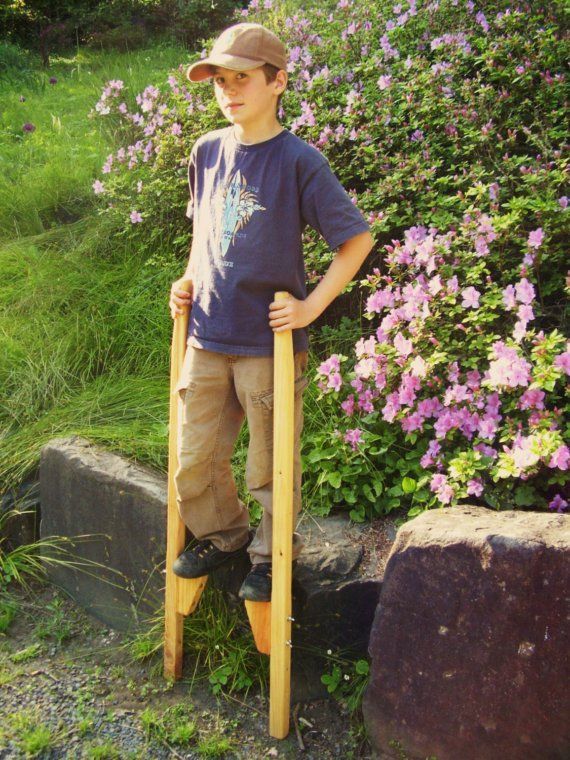
Why not turn the clock back a little and make a couple of toys for the children in your life? Nothing fancy, all you need is a little imagination, some off-cuts of wood and hardware. For example, a pair of stilts. This toy is as popular today as it was a hundred years or more ago if you don’t believe me make a pair and watch children leave all their latest ‘must have‘ toys to have a go on the stilts.
Your material requirements are:
 2 x lengths of pine clears about 1.5Metres x 50mm x 25mm for the stilt legs
- 2 x pieces of pine clears 150mm x 75mm x 50mm for the foot pieces.
- 6 x 75mm number 10 screws
- Woodworking glue.
Measure 150mm from the top of the stilt lengths; draw a pencil line all the way around the wood, on the 50mm face mark a line in the centre from the top of the wood down to where you have marked your 150mm line. Then either side of this centre line mark 12.5mm and once again draw down to the 150mm line. You will then need to make a shape similar to a cricket bat handle as shown in this sketch:
Sketch shows top of the stilt leg shaped to make a hand grip.
Cut the handle out, this will be approximately 25mm square, and sand smooth, do this on both stilt legs. You will now need to fix the foot-rests to the stilt legs. This a simple operation gluing and screwing them on to the legs about 600mm up from the bottom as shown: (adjust height to suit your child)
Drill three evenly spaced holes through the leg into the footrest to take the screws. Before screwing coat the footrest face with PVA glue. Sand all over and round off any sharp corners then paint to suit your tastes! Of course do these operations to both legs!
Adjustable footrests can be made by using coach bolts with wing nuts instead of screws and no glue to hold the footrests in place.
Another easy toy to make is a play school blackboard and easel.
You will need:
- 2 panels of MDF board 600mm x 600mm x 10mm
- 4 lengths of untreated pine 1metre x 40mm x 25 mm.
- 30mm panel pins
- 2 x 40mm Back flap hinges and screws
Once again all measurements are flexible to suit what you may have in the workshop.
Lay the panels on the on a flat surface, place the lengths of timber with the 40mm side onto the panel sides and glue and pin them in place as shown:
Do this for both panels.
Now join these two panels together with the hinges:
Use a piece of coloured rope or piece of lightweight brass chain to keep the boards from collapsing. Now all you have to do is sand back and paint, making sure that you use Blackboard paint on the panel surfaces.
This article was written some years ago, by me, for the Mitre 10 website and created a great deal of interest, so much so that they still feature it in their DIY section. Most of their MEGA stores have off-cut bins which yield up a treasure trove of bits of wood that can be used to make or help the children to make all manner of toys.
By Chris Bennett,
Click here to see Chris’ Q&A page

Join the Discussion
Type out your comment here:
You must be logged in to post a comment.