


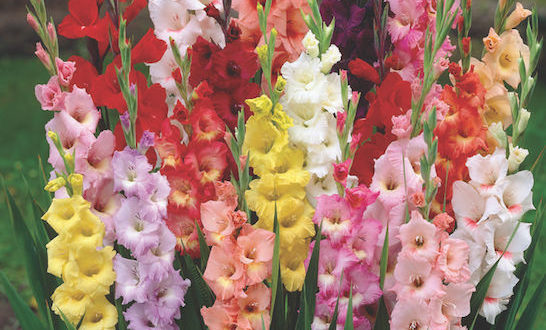
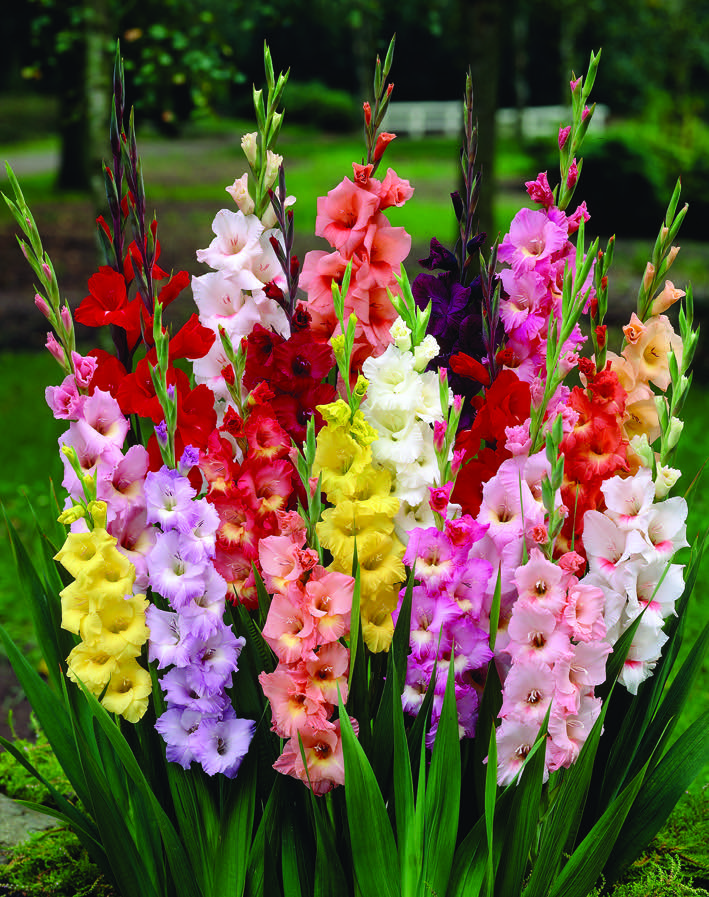
Have your gladioli finished flowering yet? You might be wondering what you should do with them. If winter will be mild and dry where you live then you probably don’t need to do anything. But if you’re like most of New Zealand and usually have a wet, cold winter then we strongly recommend you lift your corms.
Why? If you leave them in the ground any weaker varieties will die out in the cold, wet soil. The strong varieties will increase rapidly in the extra space. Within a few years there will only be one or two dominant colours left. This is why people often think that gladioli change colour and the main reason they should be lifted.
Before I explain when and how to lift your corms, I’ll just touch on an issue I’ve had several customers ask me about – rust on their gladioli.
The gladioli rust is a relative newcomer to New Zealand and usually starts to show up when we get night dew in late summer, then mild days – perfect conditions for it to develop.
The best way to treat rust on gladioli is to apply treatment to the whole plant – before you lift the corms. The only control is to spray with fungicides – copper based fungicides as you would use for leaf curl on stone fruit trees. Or you can try a DIY mix of baking soda in water with some detergent added to make it spread out, and wet the plant well. Good coverage on the plant is important for both these options as they work on contact only, and they also need to be applied often during humid conditions that favour the rust.
Now, back to how to lift your corms.
The best time to lift corms is about six to eight weeks after flowering. This will allow the corm time to develop well and there should be plenty of small cormlets which you can use to increase your stocks. Don’t wait for the leaves to die back – it’s better to lift the corms when the leaves are still green and healthy.
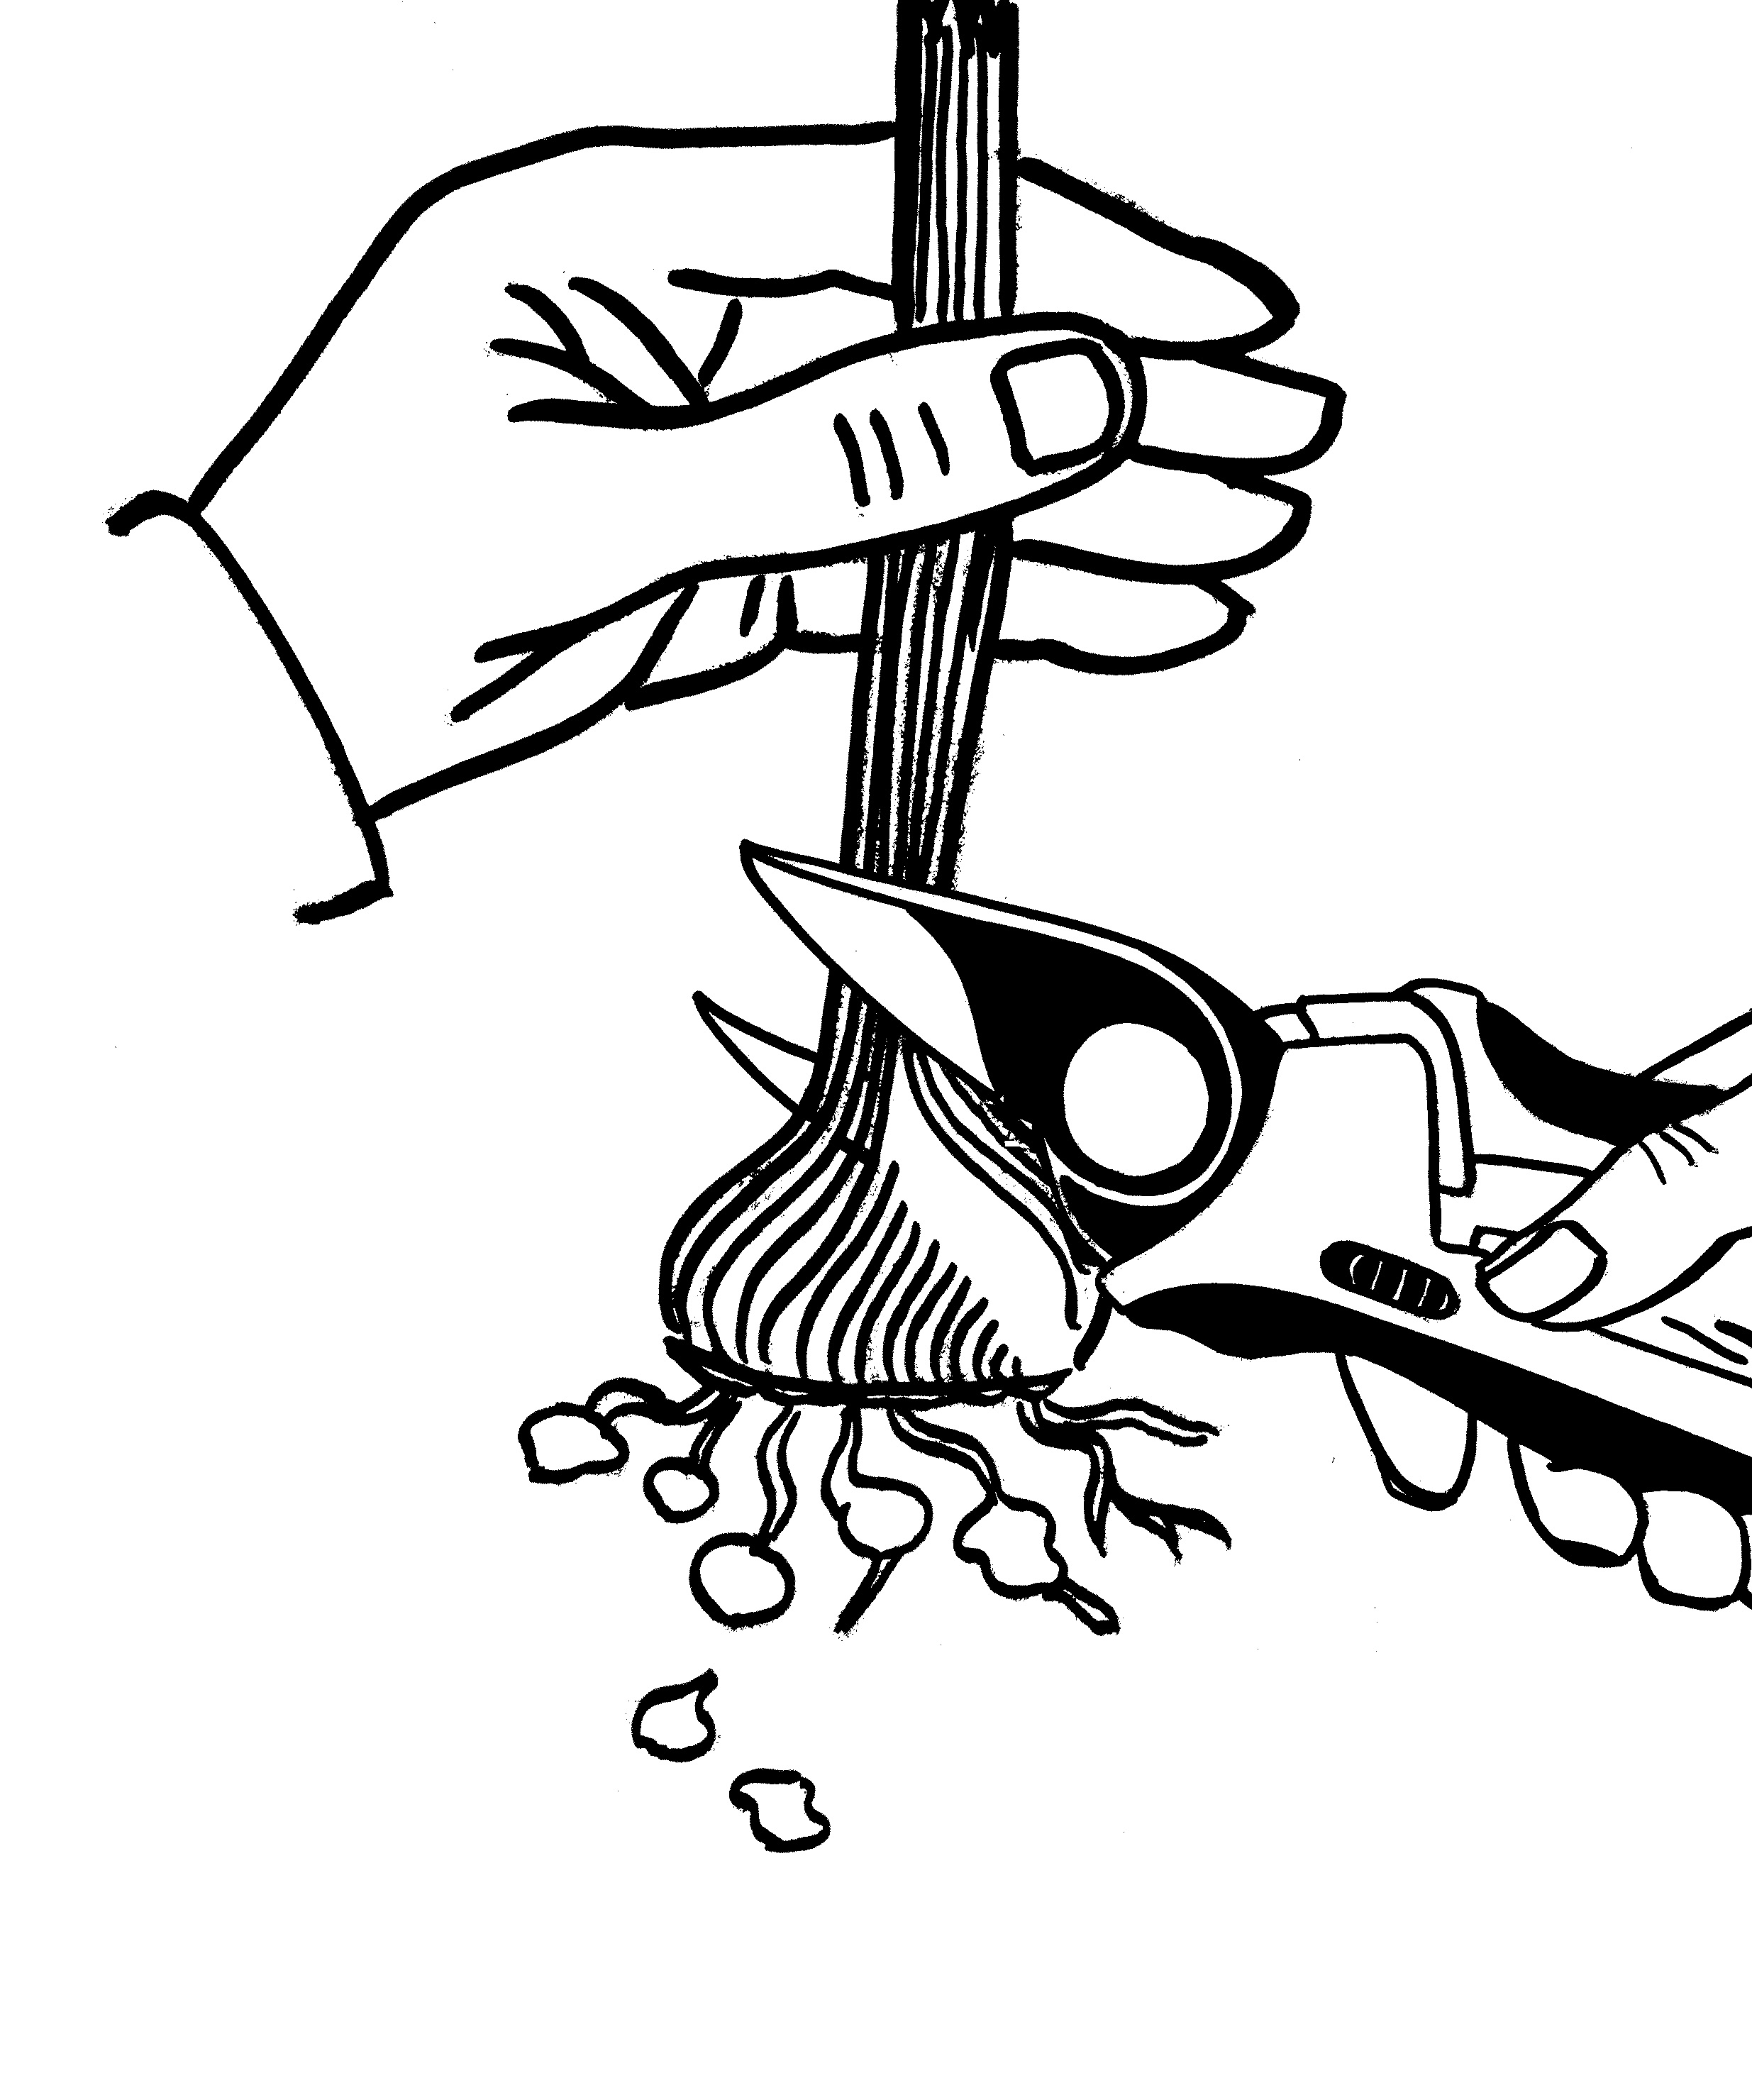
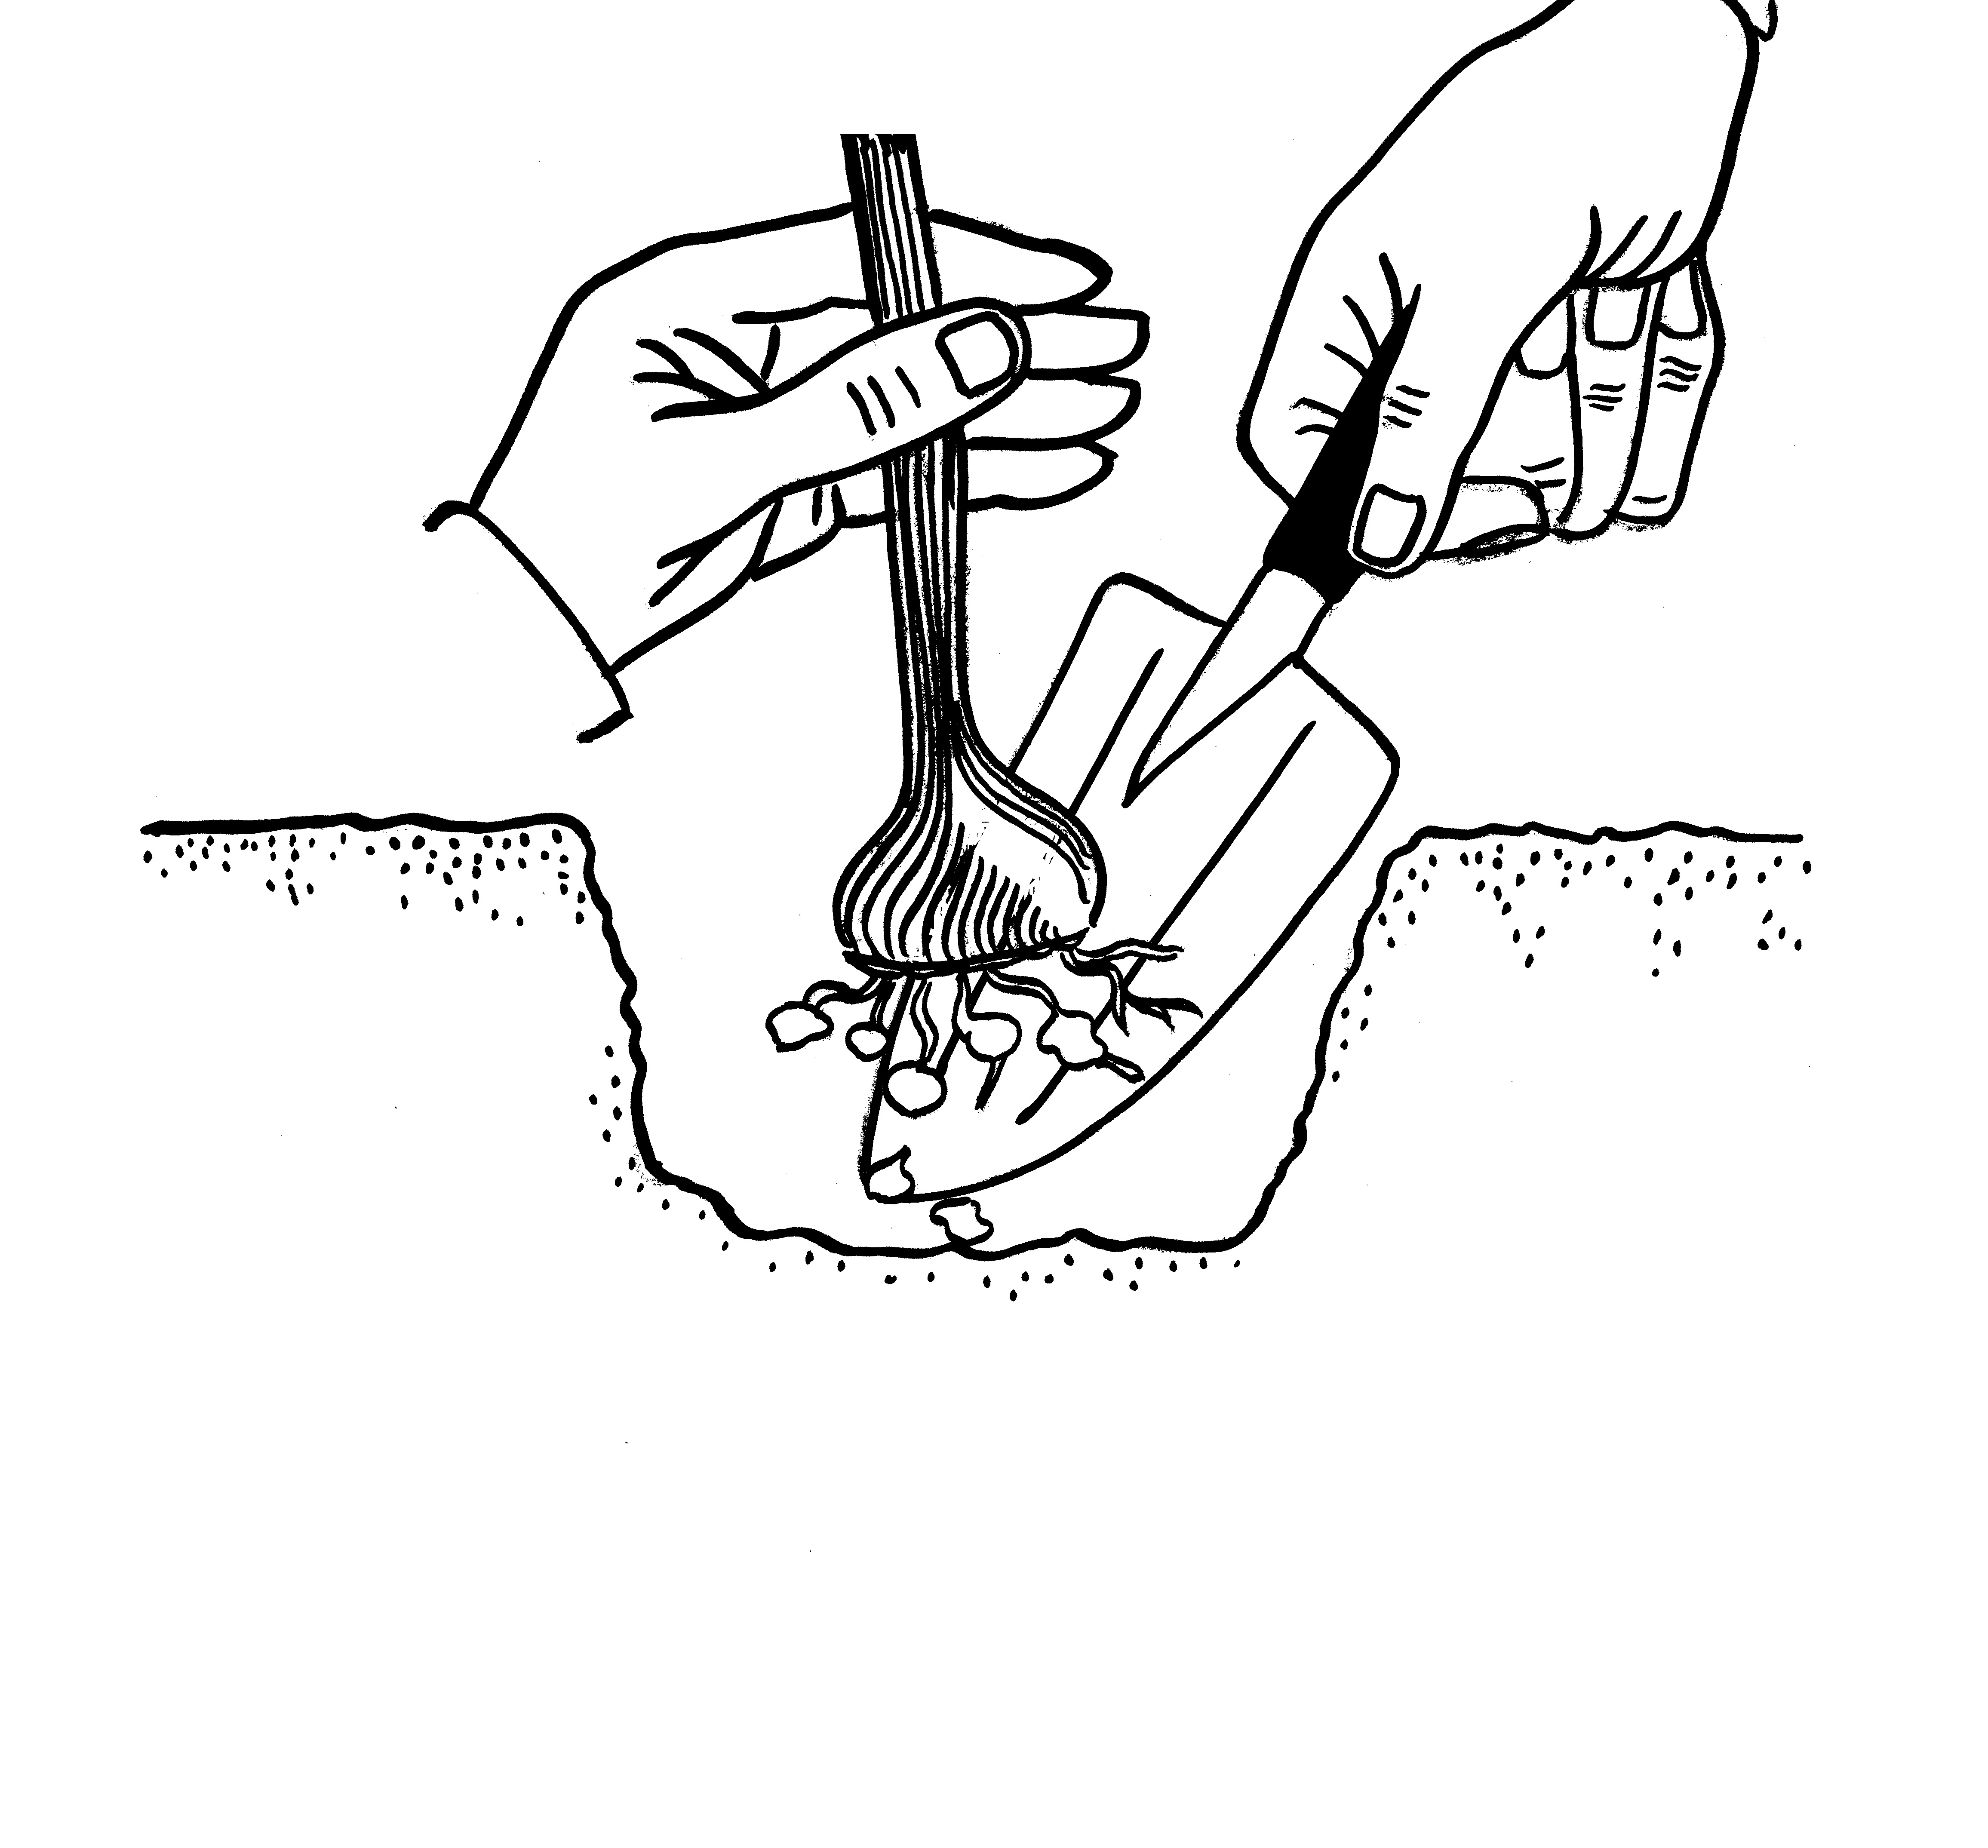 To lift the corms, start by loosening the soil with a fork and, grasping the leaves of the plant firmly, pull the whole plant up out of the ground. Take care to remove all the little cormlets too. Trim the leaves off level with the top of the corm, remove any large pieces of soil attached to the roots, and place the corms and cormlets in a breathable container such as a paper bag. Discard all the leaves and other plant material in the rubbish. Don’t leave it in the soil as this will allow a build-up of diseases which may make it difficult to grow gladioli in the same place again in future.
 Next you need to cure and clean the corms. Do this by putting the bags into a warm, airy place for two to three weeks – like a hot water cupboard. When they are thoroughly dried and cured you can remove the dried roots and the old corm easily and cleanly from below the new corm. Clean the new corms up and remove a layer or two of skin to ensure that they are healthy underneath.
Once they’re clean, store them in a cool airy place until planting time in spring. Don’t store somewhere warm as this will result in breaking the dormancy too early before conditions are suitable for planting outdoors. Keep an eye on them through the winter to make sure they’re not attracting insects, thrips love to over-winter on them and can cause a lot of damage. A quick spray with fly spray every few weeks should keep them insect-free until re-planting in spring.
Next, it’s time to think about what spring flowering bulbs you’re going to plant. Head to www.nzbulbs.co.nz to check out our extensive range of tulips, daffodils and hyacinths. Plus, don’t forget our lovely crocuses, freesias, ranunculus, Dutch irises and more.
By Paul Hoek
NZ Bulbs
www.nzbulbs.co.nz


Join the Discussion
Type out your comment here:
You must be logged in to post a comment.